Why Image Size Actually Matters in Production
I used to work on a team where nobody paid attention to Docker image sizes. We had a Node.js API image that had ballooned to 1.4 GB. Nobody cared — until we started doing 20+ deploys a day and the CI pipeline became the team’s biggest bottleneck. Every deploy meant pulling 1.4 GB across nodes, waiting for layers to extract, and burning ECR egress costs nobody had budgeted for.
Image size is not an academic concern. It directly affects three things in production: deploy speed, cold-start latency, and attack surface. A 1.4 GB image takes 3–4 minutes to pull on a cold node. A 90 MB image takes under 20 seconds. That difference matters when you are rolling out a hotfix at 2 AM.
The security angle is just as real. Every package you drag into a production image — build tools, compilers, test frameworks — is a potential CVE. Docker multi-stage builds let you keep all that noise in a build-time stage and ship only what your app actually needs to run. That is the core idea, and it is worth internalizing before we look at any code.
What Is a Docker Multi-Stage Build? (Plain English)
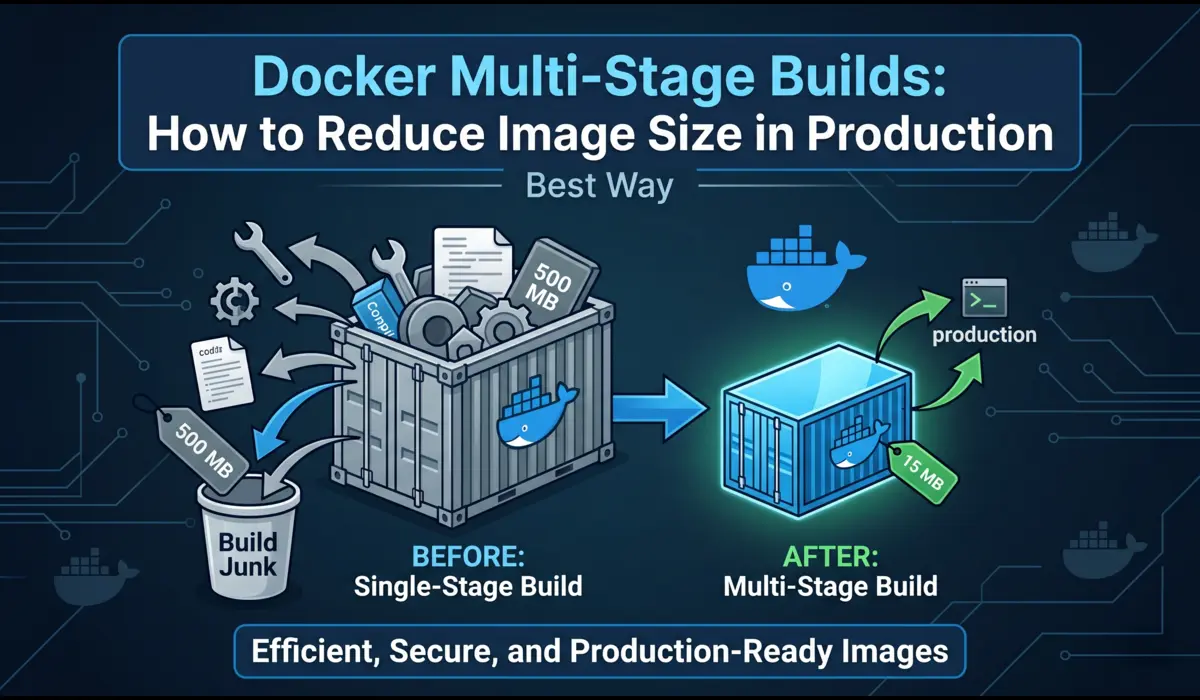
A multi-stage build is a Dockerfile that uses more than one FROM instruction. Each FROM starts a new stage. Stages can copy files from each other using COPY –from. The final image only contains what is in the last stage — everything else is discarded at build time.
Think of it like a construction site vs. a finished house. The construction stage needs cranes, scaffolding, power tools. The finished house just needs the walls and furniture. Multi-stage builds let you separate those two things in a single Dockerfile instead of writing fragile shell scripts or maintaining separate build containers.
This feature shipped in Docker 17.05. If you are running anything newer than that — and you should be — you have access to it. No plugins, no extra tooling.
A Before-and-After: Single Stage vs. Multi-Stage
The bloated single-stage Dockerfile
Here is a real-world example of how most Node.js Dockerfiles look before anyone optimizes them:
# Single-stage — everything ends up in the final image
FROM node:20                        # Full Debian image (~1.1 GB base)

WORKDIR /app

# Copy everything, including dev tooling config
COPY package.json package-lock.json ./

# Installs ALL dependencies — devDependencies included
RUN npm install

COPY . .

# Build step runs at container startup (inefficient)
RUN npm run build

EXPOSE 3000
CMD ["node", "dist/index.js"]
Result: docker images shows this image at ~1.35 GB. It includes the TypeScript compiler, ESLint, Prettier, test runners, and every devDependency the team ever added.
The multi-stage version
Here is the same app rewritten with Docker multi-stage builds:
# Stage 1: Builder — compiles the app, runs linters, generates dist/
FROM node:20-alpine AS builder

WORKDIR /app

# Copy only dependency manifests first (layer cache optimization)
COPY package.json package-lock.json ./

# Install ALL deps including devDependencies needed for build
RUN npm ci

# Copy source and run the TypeScript build
COPY tsconfig.json ./
COPY src/ ./src/

RUN npm run build          # Outputs compiled JS to dist/
RUN npm prune --production # Strip devDependencies from node_modules

# Stage 2: Runtime — only what the app needs to run
FROM node:20-alpine AS runtime

WORKDIR /app

# Copy only production node_modules and compiled output
COPY --from=builder /app/node_modules ./node_modules
COPY --from=builder /app/dist ./dist
COPY --from=builder /app/package.json ./

# Run as non-root for security
USER node

EXPOSE 3000
CMD ["node", "dist/index.js"]
How much did we save?
The numbers speak for themselves. Here is actual output from docker images on the same application:
REPOSITORY         TAG         IMAGE ID       SIZE
my-api             single      a3f8c1d92e4b   1.35GB
my-api             multi       9b2c4a1f3e7d   87MB
That is an 87 MB final image. Deploy times on our ECS cluster dropped from ~3.5 minutes to under 40 seconds on warm nodes. On a cold node — fresh EC2 launch pulling the image for the first time — we went from 4+ minutes to under a minute. That improvement compounds over hundreds of deploys.
Breaking Down the Multi-Stage Dockerfile
The builder stage
The builder stage starts with FROM node:20-alpine AS builder. The AS builder part names the stage so you can reference it later. Alpine is a Linux distribution stripped to ~5 MB — using it as your base immediately cuts hundreds of megabytes compared to the default Debian-based node image.
One thing I do consistently: copy package.json and package-lock.json before copying source files. This takes advantage of Docker layer caching. If your source code changes but your dependencies don’t, Docker reuses the cached npm ci layer instead of reinstalling everything from scratch. On a busy CI pipeline, this alone cuts build times by 60–70%.
After the build runs, npm prune –production strips devDependencies from node_modules so we don’t accidentally copy them into the runtime stage.
The final stage
The final stage starts clean: FROM node:20-alpine AS runtime. It has no awareness of the builder stage except for what we explicitly copy out of it. No TypeScript compiler. No test frameworks. No source maps unless you copy them deliberately.
Setting USER node before CMD is something many engineers skip. The node:alpine image creates a non-root ‘node’ user by default. If you don’t switch to it, your app runs as root inside the container — which is a security misconfiguration that container scanning tools will flag.
What COPY –from actually does
COPY –from=builder /app/dist ./dist tells Docker to copy files from a previous stage rather than from the build context on your local filesystem. You reference the stage by name (or by index — –from=0 for the first stage). It only copies the specific paths you name — there is no ‘copy everything from the builder’ shortcut, which is intentional.
You can also COPY –from a completely external image that is not part of your Dockerfile — useful for pulling static binaries like grpc-health-probe or wait-for-it scripts without adding them to your base image.
Also Read : Debug Kubernetes networking issues
Real-World Patterns I Use in Production
Node.js apps
The pattern above covers most Node.js cases. One variation I add for Next.js apps: the Next.js standalone output mode. Set output: ‘standalone’ in next.config.js and only COPY .next/standalone, .next/static, and public/ into your runtime stage. A full Next.js image that would hit 800 MB can land under 120 MB this way.
Go binaries (the gold standard)
Go is where multi-stage builds really shine. The Go toolchain is massive, but a compiled Go binary is statically linked and needs nothing to run — not even libc if you build it right.
# Stage 1: Build
FROM golang:1.22-alpine AS builder

WORKDIR /app

# Download dependencies first (layer cache)
COPY go.mod go.sum ./
RUN go mod download

COPY . .

# CGO_ENABLED=0 for static binary; GOOS/GOARCH for target platform
RUN CGO_ENABLED=0 GOOS=linux GOARCH=amd64 \
    go build -ldflags="-w -s" -o server ./cmd/server

# Stage 2: Minimal runtime — no OS at all
FROM scratch

# Copy the CA certs bundle (for HTTPS calls)
COPY --from=builder /etc/ssl/certs/ca-certificates.crt /etc/ssl/certs/

# Copy only the binary
COPY --from=builder /app/server /server

EXPOSE 8080
ENTRYPOINT ["/server"]
FROM scratch means no base image — zero OS. The final image is just your binary and the CA cert bundle. I have seen Go services ship at 8–12 MB this way. The -ldflags=”-w -s” flag strips debug symbols and the DWARF table, trimming the binary itself by 20–30%.
Python with heavy dependencies
Python is trickier. Unlike Go, Python is interpreted — you can’t build a single static binary. The goal here is to avoid shipping pip, build tools, and compiled extension headers into production.
# Stage 1: Build wheels (compile C extensions)
FROM python:3.12-slim AS builder


WORKDIR /build


# Install build-time dependencies (C compiler, headers)
RUN apt-get update && apt-get install -y --no-install-recommends \
    gcc libpq-dev && rm -rf /var/lib/apt/lists/*
COPY requirements.txt .


# Build wheels into /wheels (pre-compiled, no gcc needed at runtime)
RUN pip wheel --no-cache-dir --wheel-dir /wheels -r requirements.txt


# Stage 2: Runtime — install from pre-built wheels
FROM python:3.12-slim AS runtime


WORKDIR /app


# Copy and install wheels (no compiler required)
COPY --from=builder /wheels /wheels
RUN pip install --no-cache-dir --no-index --find-links=/wheels /wheels/* \
    && rm -rf /wheels


COPY app/ ./app/


RUN useradd -r -u 1001 appuser && chown -R appuser /app
USER appuser


CMD ["python", "-m", "uvicorn", "app.main:app", "--host", "0.0.0.0", "--port", "8000"]
The key technique here is building wheels in the first stage. Wheels are pre-compiled Python packages. Once built, they install without needing a C compiler in the runtime image. This lets you strip gcc and libpq-dev from the final container while still supporting packages like psycopg2 or numpy.
Distroless Images: Taking It One Step Further
Google’s distroless images are another tool in the size-reduction toolkit. They sit between full Alpine and FROM scratch — they include just enough OS runtime (glibc, CA certs, timezone data) but no shell, no package manager, and no utilities. Nothing an attacker could use interactively if they got code execution inside your container.
For Node.js, gcr.io/distroless/nodejs20-debian12 is a solid production choice. For Java apps, gcr.io/distroless/java21. They are maintained by Google and get regular security updates, which is more than I can say for some custom base images I have encountered in the wild.
# Node.js with distroless runtime
FROM node:20-alpine AS builder
WORKDIR /app
COPY package.json package-lock.json ./
RUN npm ci
COPY . .
RUN npm run build && npm prune --production


# Distroless runtime: no shell, no apt, minimal attack surface
FROM gcr.io/distroless/nodejs20-debian12 AS runtime
WORKDIR /app
COPY --from=builder /app/node_modules ./node_modules
COPY --from=builder /app/dist ./dist
EXPOSE 3000
CMD ["dist/index.js"]
One trade-off worth knowing: distroless images have no shell, which means kubectl exec into the container and running bash doesn’t work. Debugging a live distroless container requires adding an ephemeral debug sidecar (kubectl debug) rather than shelling in directly. For most production services that’s fine — you shouldn’t be doing exploratory debugging in prod anyway.
Common Mistakes and How to Avoid Them
Here are the mistakes I see consistently in code reviews:
- Copying everything before filtering. If you COPY . . before running npm install, any change to any file — including README.md — invalidates the dependency cache layer. Always copy package manifests first, install, then copy source.
- Not using BuildKit. BuildKit is Docker’s modern build backend with parallel stage execution and better layer caching. Enable it with DOCKER_BUILDKIT=1 docker build . or set it permanently in your Docker daemon config. Without it, you are leaving performance on the table.
- Using COPY –from=0 instead of named stages. Index-based references like –from=0 break silently when you add a stage above it. Name your stages and use the names.
- Forgetting .dockerignore. Your multi-stage Dockerfile only helps if you’re not copying the entire node_modules, .git directory, and test fixtures into the build context. A good .dockerignore should mirror your .gitignore plus exclude any CI/CD config files.
- Not pinning the base image tag. FROM node:20-alpine can silently pull a different image digest on different build dates. Pin to a digest or a specific patch version in production to ensure reproducible builds.
When Multi-Stage Builds Are NOT the Right Tool
I want to be honest here: multi-stage builds are not always worth the added Dockerfile complexity.
If you are building a simple internal tool that deploys once a week to one server, the 15 minutes it takes to set up a proper multi-stage Dockerfile probably outweighs the benefit. Ship the bigger image and spend the time on something that matters more.
Multi-stage builds also don’t help with runtime bloat. If your application loads 500 MB of ML model weights at startup, the image size problem is in your data, not your build process. You need model serving infrastructure (like Triton or a feature store), not a more clever Dockerfile.
And if your build pipeline does not support Docker layer caching — common in certain ephemeral CI environments — you may find multi-stage builds actually slow down your pipeline because each stage re-downloads its base image on every run. Check your CI’s caching documentation before assuming multi-stage is always faster.
Final Thoughts
Docker multi-stage builds are one of the highest-ROI optimizations you can make to a containerized application. The technique is not complicated — two FROM instructions and a COPY –from — but the discipline of thinking in stages changes how you structure Dockerfiles permanently.
The concrete steps to take right now: run docker images on your current production containers and note the sizes. If anything is over 500 MB and it is a web service or API, you have a clear optimization opportunity. Pick the largest image, apply the multi-stage pattern, and benchmark the deploy time difference. The numbers will make the case for doing it everywhere else.
Enable BuildKit (DOCKER_BUILDKIT=1) in your CI environment today — it costs nothing and immediately improves build performance through parallel stage execution. Add a .dockerignore if you don’t have one. And consider distroless for any service that handles sensitive data.
You don’t have to optimize everything at once. Start with the image that causes you the most pain, apply multi-stage, and see what you get. The feedback loop is fast and the wins are tangible.
Pratik Shinde
Pratik Shinde is a DevOps and Cloud professional based in Pune, Maharashtra, India, with hands-on experience in building and managing scalable systems. Working in top multinational Organization as Devops Engineer with experience of 10+ years. He has a strong working background in DevOps, Kubernetes, and cloud platforms, along with practical exposure to artificial intelligence and machine learning concepts. He also shares knowledge and learning resources on platforms like LinkedIn and other social channels, aiming to simplify complex topics and make them accessible to a wider audience. Linkedin URL: https://www.linkedin.com/in/pratikshinde8494/ . Github URL: https://github.com/PratikShindeGithub